Raspberry Pi vs Jetson Orin Nano for Object Detection
People often ask which board is "better" for object detection. That question has no single answer. A Raspberry Pi and a Jetson Orin Nano are built around different ideas, and the right pick depends on what you need to run, how many cameras you have and how much engineering time you can spend.
This article gives you a way to decide. It avoids benchmark numbers on purpose. Speed depends on the model, input size, export format, cooling and software versions, and numbers copied from someone else's setup rarely match yours. Where it matters, I will tell you how to measure it yourself.
The core difference
A Raspberry Pi 5 is a general-purpose Arm computer. Detection on a stock Pi runs on the CPU unless you add an accelerator. The CPU is capable for small models at modest input sizes, but it has no CUDA support.
A Jetson Orin Nano developer kit is an Arm computer with an NVIDIA GPU on the same module. That GPU runs CUDA, and the NVIDIA stack (TensorRT, cuDNN, DeepStream) is designed for it. For neural networks, this is a different class of hardware from a CPU.
So the real question is: do you need GPU-class throughput and the CUDA ecosystem, or is a cheap, simple CPU board enough?
Comparison at a glance
| Factor | Raspberry Pi 5 | Jetson Orin Nano dev kit |
|---|---|---|
| Inference engine | CPU (optional accelerator add-on) | Built-in NVIDIA GPU |
| Main software path | ONNX Runtime or other CPU runtimes, vendor SDK for add-ons | CUDA, TensorRT, DeepStream via JetPack |
| Setup effort | Low, standard Raspberry Pi OS | Higher, you manage JetPack versions |
| Power draw | Lower | Higher, with selectable power modes |
| Price | Lower, check the current price | Higher, check the current price |
| Community and docs | Very large, general purpose | Large, focused on AI and robotics |
| Multi-stream capacity | Limited | Much better suited |
Treat the table as direction, not as a promise. Check current specs and prices on the vendor pages before you buy.
When a Raspberry Pi is enough
A Raspberry Pi 5 is a good fit when:
- You have one camera, or a small number of cameras at low frame rates.
- The scene changes slowly. Think door counting, parking spot occupancy or checking whether a machine light is on.
- You can process a few frames per second and still meet the real requirement.
- You want low cost, low power and a simple operating system.
- You are prototyping and want to see results quickly.
The key idea is that most real projects do not need every frame. A person walking through a door is visible for many frames. If your logic needs a detection every 200 to 500 ms, a small model on a CPU may be plenty. Define the required detection rate from the business need first, then see if the board meets it.
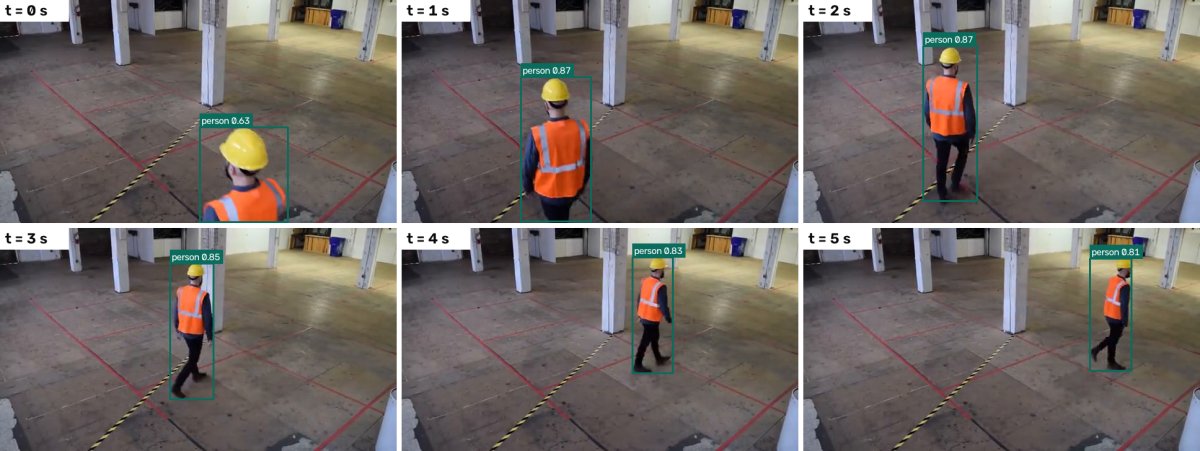
For a Pi, choose the smallest model that works, use a modest input size and export to a CPU-friendly format such as ONNX. The article on running YOLO on a Raspberry Pi 5 covers that workflow in detail.
If you want more speed without leaving the Pi, an accelerator add-on is an option. The Raspberry Pi AI Kit adds a Hailo accelerator. That changes the picture, but it also changes the toolchain, because models must be compiled for the accelerator. See Raspberry Pi AI Kit and Hailo accelerators for the trade-offs.
When a Jetson Orin Nano is the better choice
A Jetson Orin Nano developer kit makes sense when:
- You need to process several camera streams on one device.
- You need higher input resolution, for example to find small objects.
- You want larger models or more than one model running together, such as a detector plus a classifier.
- Your team already uses CUDA, TensorRT or DeepStream.
- You expect to scale the same code to bigger NVIDIA GPUs or servers.
The strongest argument for Jetson is the shared software path. A model trained in PyTorch can be exported to ONNX, built into a TensorRT engine and run on the GPU, and the same pattern works on a desktop RTX card or a cloud instance. That makes development and testing easier. The TensorRT workflow is covered in TensorRT for YOLO.
The hidden costs
Hardware price is only part of the cost.
Software maintenance on Jetson
JetPack bundles the OS image, CUDA, cuDNN and TensorRT. These versions move together. If you install a PyTorch build or a Python wheel that does not match your JetPack release, things break in confusing ways. Plan to pin versions, document the exact image you use and test upgrades on a spare board. Containers help a lot here, and they are discussed in Dockerize a computer vision app.
Portability of TensorRT engines
A TensorRT engine is built for a specific GPU and TensorRT version. You cannot build it on a laptop and copy it to a Jetson. Build on the target device, or in a matching environment, as part of your deployment process.
Power and cooling
A Jetson draws more power than a Pi and produces more heat under load. The developer kit supports power modes, so you can trade speed for power, but you still need adequate cooling and a proper power supply. A Pi is easier on a battery or a small solar setup. Either way, a reliable edge box needs a good supply, cooling and storage; see power, cooling and storage for an edge AI box.
Accelerator toolchains on Pi
The Pi path looks simple until you add an accelerator. Then you must convert models for the vendor runtime, and some operations or custom heads may not be supported. Budget time for this and test accuracy after conversion.
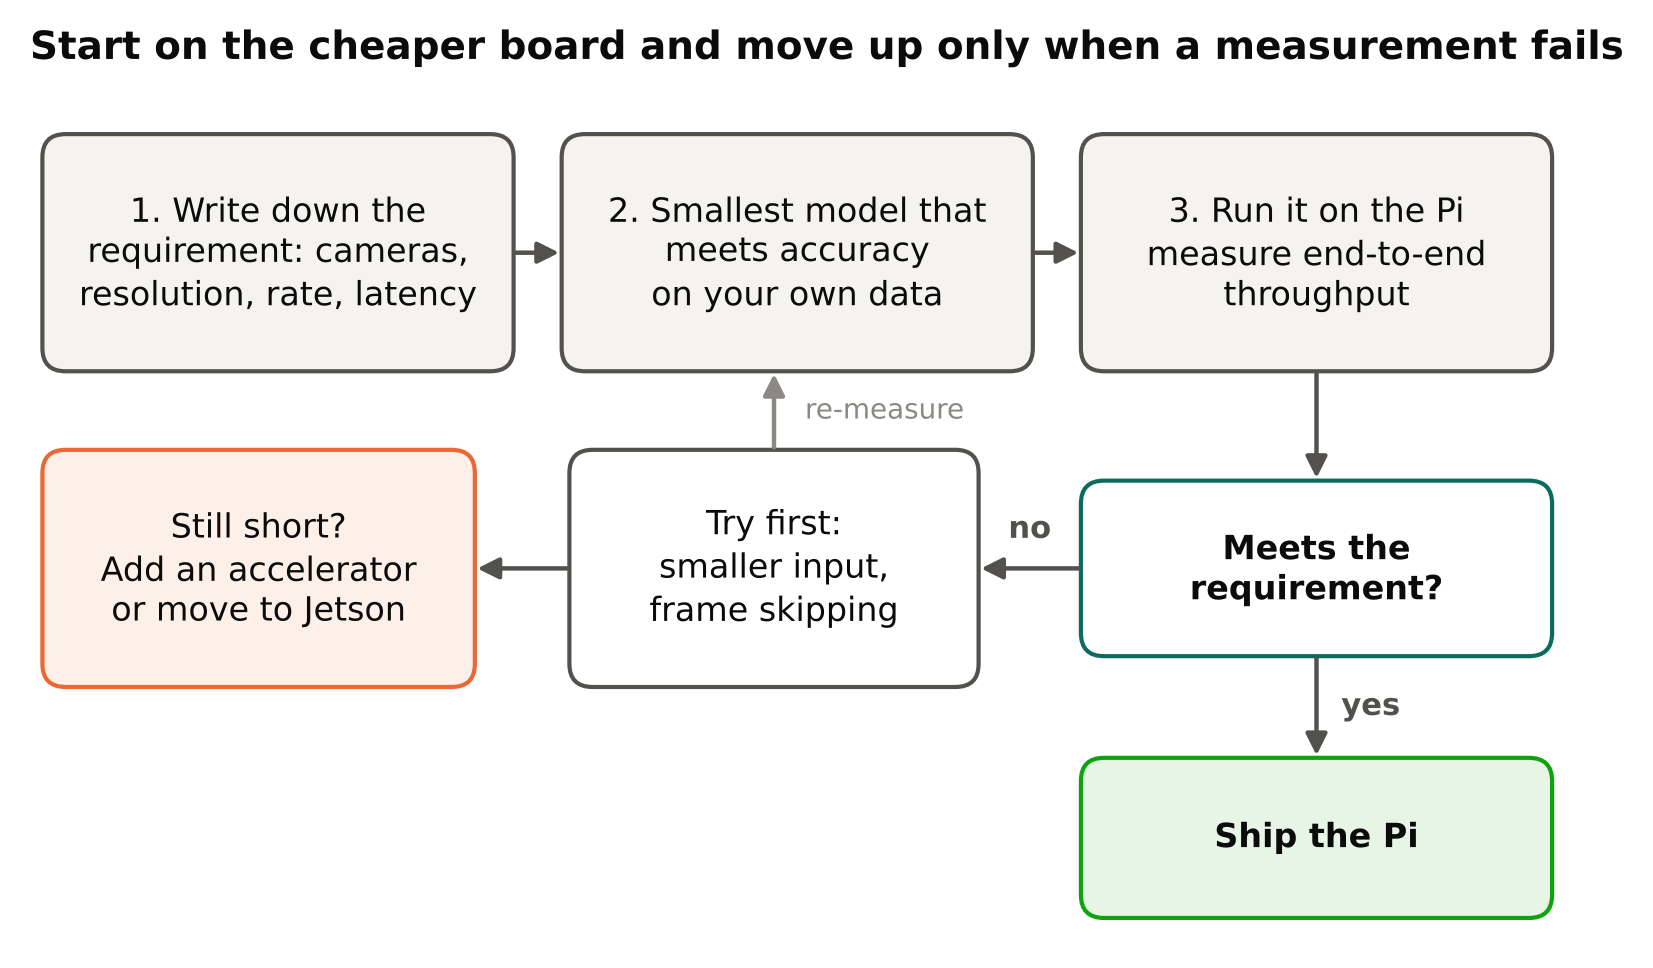
How to decide in four steps
- Write down the requirement. How many cameras, what resolution, how many detections per second, which objects, what latency is acceptable. Be specific.
- Pick the smallest model that meets accuracy. Train and validate on your own data first. Hardware cannot rescue a model that does not work.
- Test on the cheaper board first. Export your model, run it on a Pi, and measure end-to-end throughput, including decoding and post-processing, not only model time. The article on measuring FPS and latency correctly explains how.
- Move up only if the measurement fails. If the Pi cannot meet the requirement even with a smaller model, lower input size or frame skipping, try an accelerator or a Jetson.
This order saves money. Many teams buy the bigger board first and later find that their bottleneck was video decoding or a slow Python loop.
Common mistakes
- Comparing peak accelerator numbers. Marketing figures for operations per second do not translate directly into your model's frame rate. Measure your own model.
- Ignoring the video pipeline. Decoding several 1080p streams costs real CPU or hardware decoder capacity on either board. Check how your streams are decoded.
- Testing without cooling. A bare board may run fast for a minute and then throttle. Test for at least several minutes under sustained load.
- Using different pre-processing on each board. If your resize or colour conversion differs, results will differ and your comparison is unfair.
- Forgetting the licence. Ultralytics YOLO models are AGPL-3.0, with a commercial licence available from Ultralytics. Hardware choice does not change this, so check the current licence before shipping a product.
A simple rule of thumb
Choose the Pi when the job is small, the budget is tight and you value simplicity. Choose the Jetson when the job involves multiple streams, higher resolution or a team that already depends on NVIDIA tools. If you are unsure, start with the Pi, measure honestly and let the results decide.
Checklist
- Requirement written down: cameras, resolution, detections per second, latency.
- Model trained and validated on your own footage before choosing hardware.
- End-to-end throughput measured, not just model inference time.
- Cooling and power supply tested under sustained load.
- Software versions pinned and documented.
- Model conversion (ONNX, TensorRT or accelerator format) re-validated for accuracy.
- Licence for the model and tools checked for your use.
Next steps
Read Running YOLO on a Raspberry Pi 5, then TensorRT for YOLO, and finish with Measuring FPS and Latency Correctly.